All Recipes | BREAKFAST | Cake Recipes | CHRISTMAS | DESSERT | EASTER | GAMEDAY | HOLIDAYS | Snacks
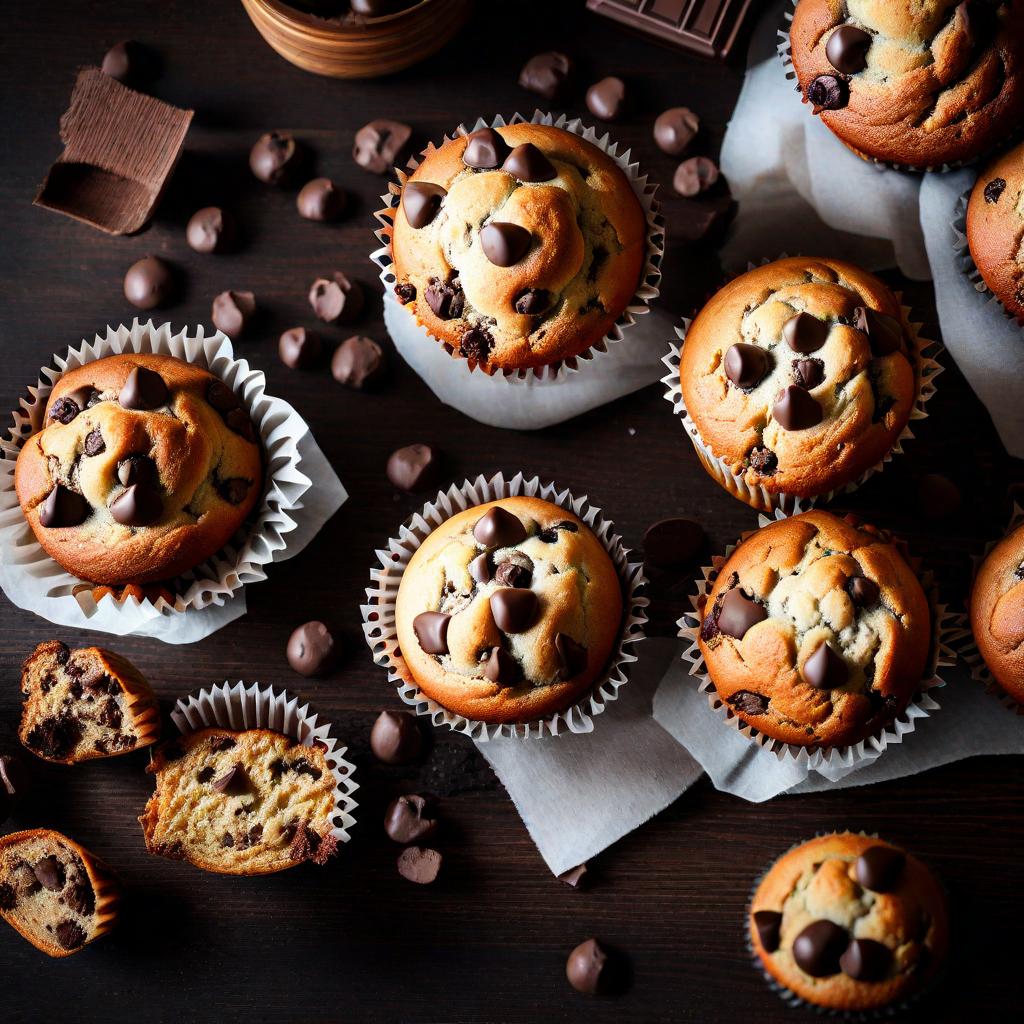
Chocolate Chip Muffins
Chocolate Chip Muffins: A Recipe Worth Indulging In Picture this: It’s a lazy Sunday morning, the sun is gently streaming through your kitchen window, and the air is filled with a tantalizing aroma that’s pulling you out of your cozy bed. You follow your nose to the kitchen, where you find a tray of…